Banana Crumb Muffins

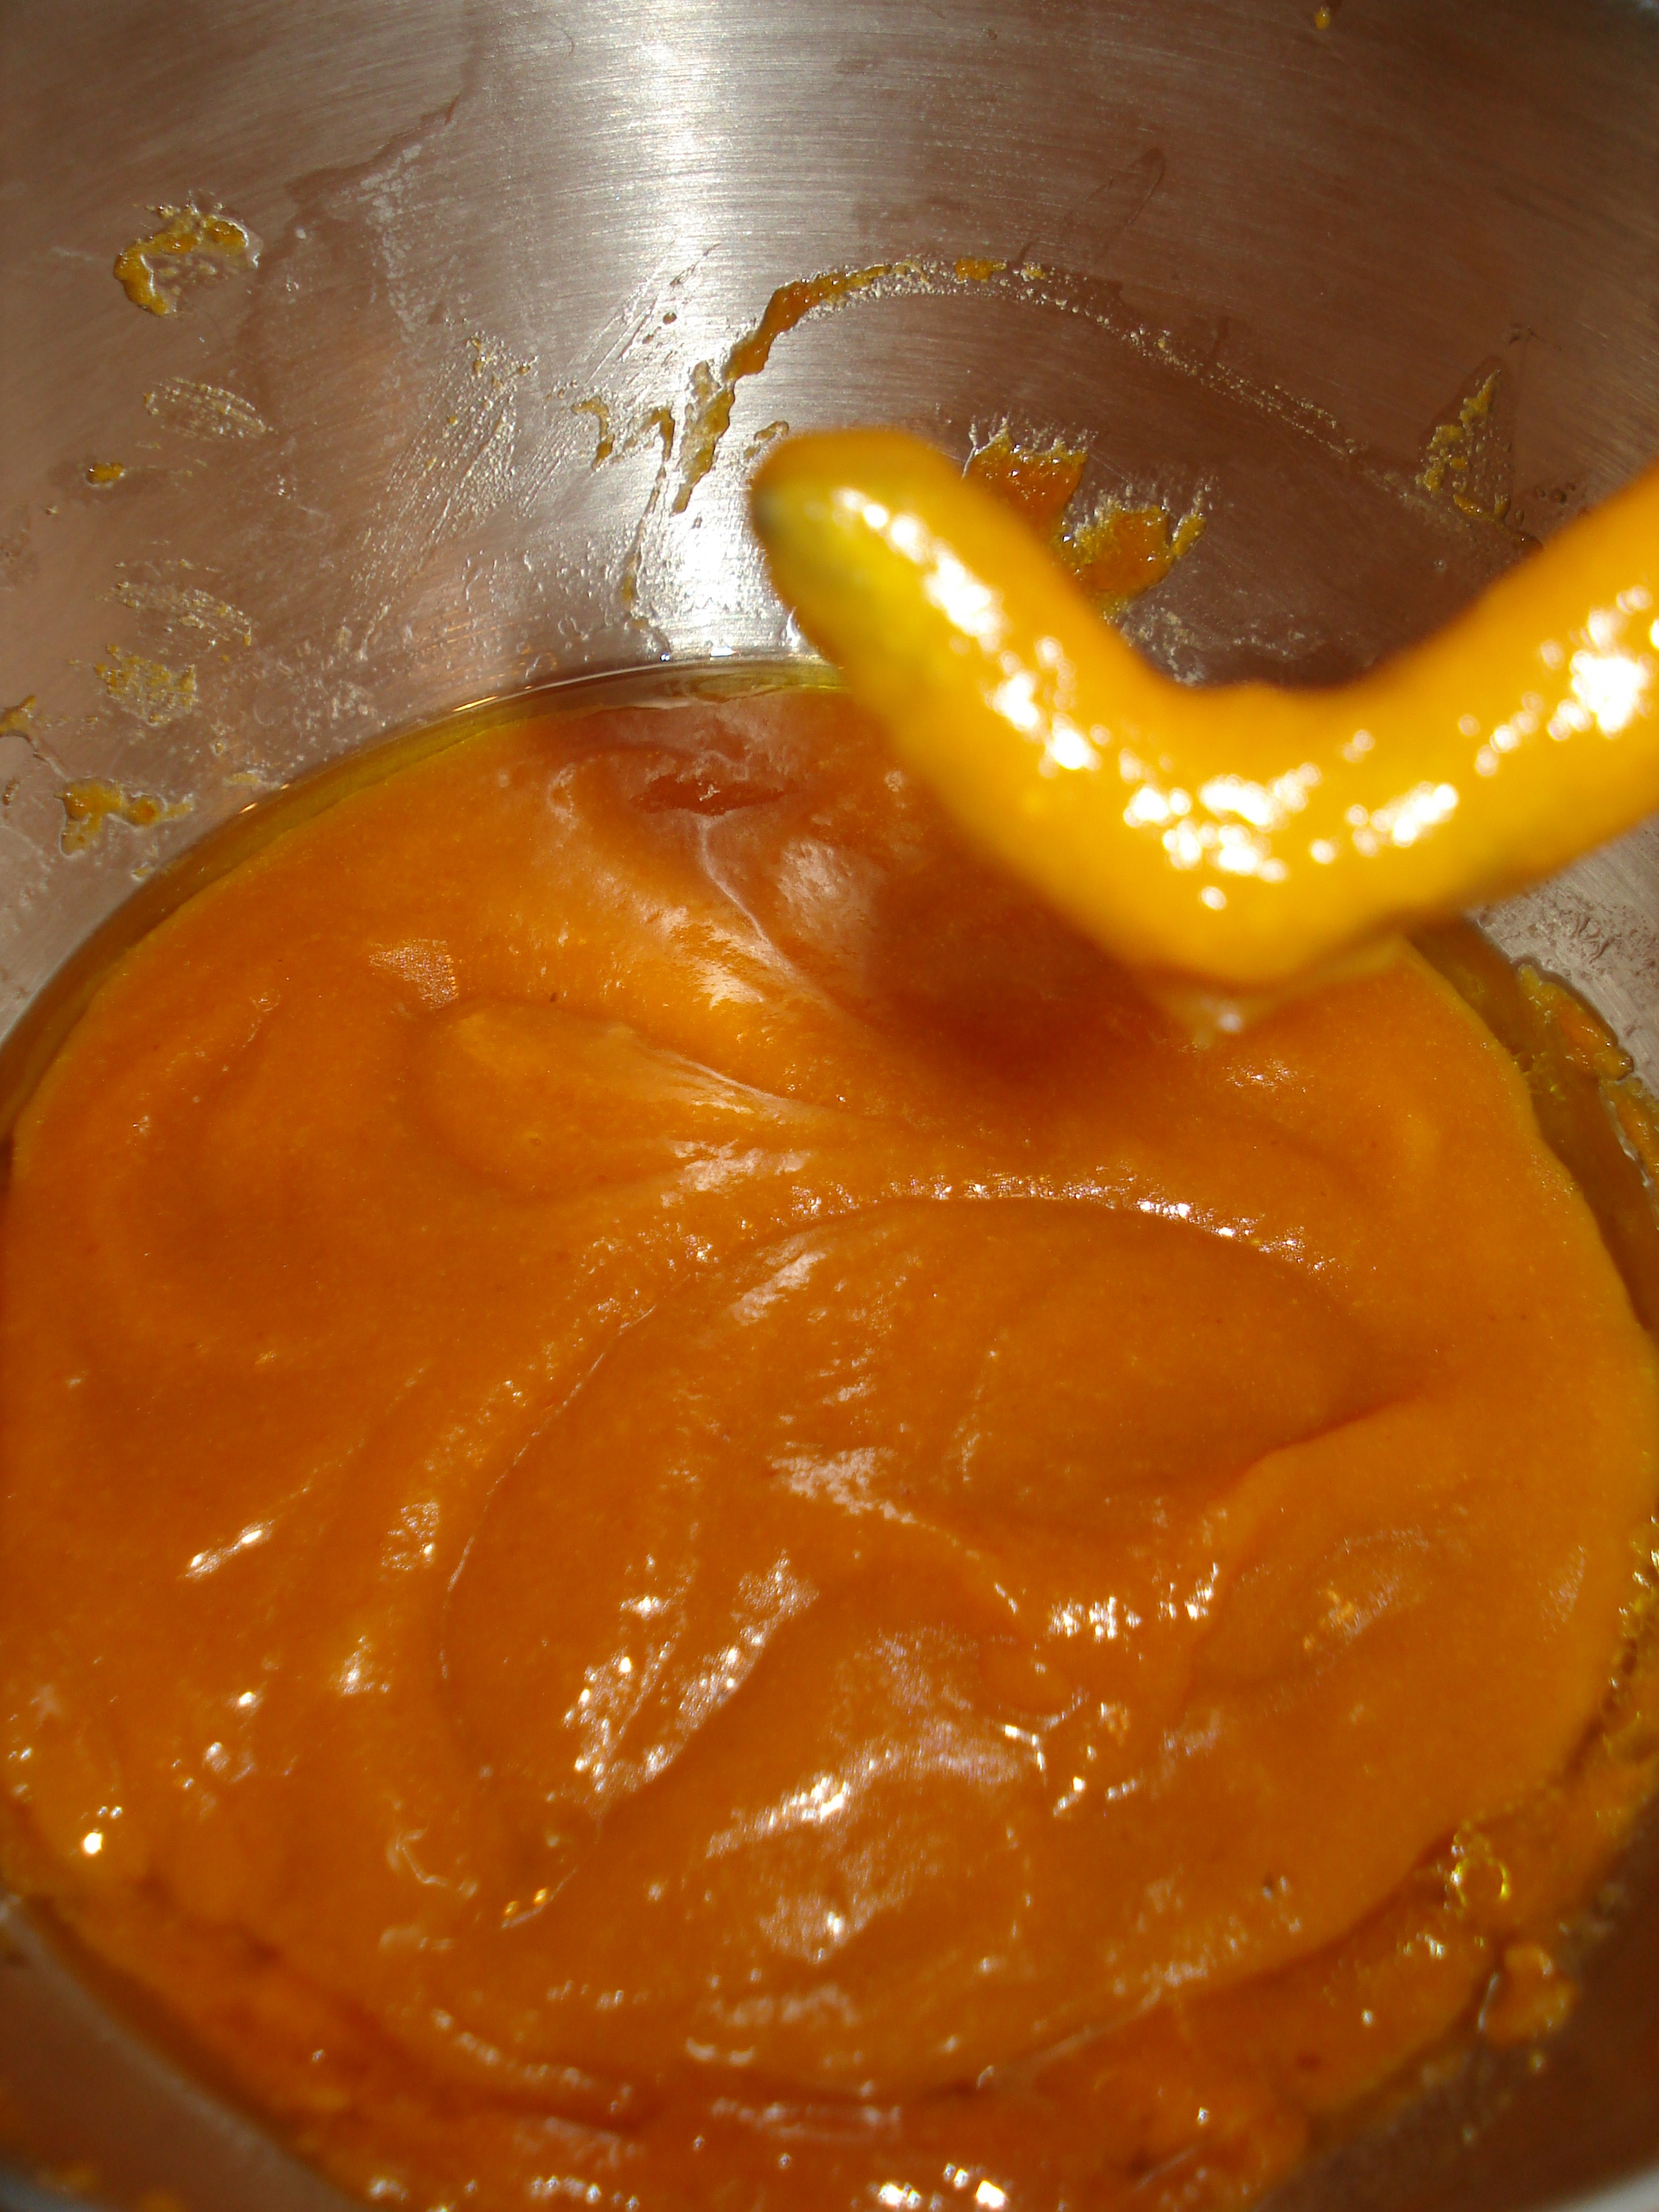
I had some bananas that were going bad and I hate being wasteful, so I whipped up these muffins after a stressful morning. Killed two birds with one stone.  Stress relief + delicious banana crumb muffins.

I got this recipe from allrecipes.com, made a few slight changes.

Enjoy 🙂

Ingredients for muffin: 

  • 1 1/2 cups all-purpose flour
  • 1 teaspoon baking soda
  • 1 teaspoon baking powder
  • 1/2 teaspoon salt
  • 3 bananas, mashed
  • 1/2 cup splenda (or sugar!)
  • 1/4 cup brown sugar
  • 1 egg, lightly beaten
  • 1/3 cup margarine, melted
Ingredients for crumb topping: 
  • 1/2 cup packed brown sugar
  • 2 tablespoons all-purpose flour
  • 1/4 teaspoon ground cinnamon
  • 1 1/2 tablespoons margarine
Instructions: 
  1. Preheat oven to 375 degrees F. Lightly grease 12 muffin cups, or line with muffin papers.
  2. In a large bowl, mix together 1 1/2 cups flour, baking soda, baking powder and salt. In another bowl, beat together bananas, sugar, egg and melted margarine. Stir the banana mixture into the flour mixture just until moistened. Spoon batter into prepared muffin cups.
  3. In a small bowl, mix together brown sugar, 2 tablespoons flour and cinnamon. Add margarine until mixture resembles coarse cornmeal. Sprinkle topping over muffins.
  4. Bake in preheated oven for 18 to 20 minutes, until a toothpick inserted into center of a muffin comes out clean.

Shredded Chicken Tacos

Happy Halloween!!!!

You know what my favorite part of halloween is?  Handing candy out to the little kiddies and seeing all their cute little costumes.  They were extra adorable tonight!

Tonights dinner was delicious.  We love taco night and I typically just make beef or ground turkey tacos and call it a night, but tonight I decided to switch it up.  I got this recipe from the Blog Chef and I made a few minor changes.  I’ll definitely be making this again! Mina and I both agreed that these were awesome and even better than the typical tacos I usually make.

Enjoy!

Ingredients: 

  • 1.5 pounds boneless skinless chicken breast
  • 2 (8 ounce) cans tomato sauce
  • 2 teaspoons white distilled vinegar
  • 2 teaspoons garlic (minced)
  • 3 ½ teaspoons chili powder
  • 1 teaspoon cumin
  • 2 teaspoons oregano
  • 2 teaspoons ground red pepper (for spice!)
  • 2 tablespoons taco seasoning
  • ½ teaspoon sugar
  • 2 tablespoons olive oil
  • Flour or corn tortillas
  • Sour cream, lettuce, tomatoes, shredded cheese, and anything else you like to top your tacos with
Instructions: 
1. In bowl mix together tomato sauce, vinegar, garlic, chili powder, cumin, oregano, ground red pepper, taco seasoning, and sugar.  Mix well and set aside.
2. Heat olive oil in a large skillet on medium high heat.  Add chicken and cook on each side until golden brown.  About 5 minutes on each side.
3. Once chicken is golden brown, add tomato sauce mixture.  Bring to a boil.  Reduce heat and allow to simmer on medium-low heat.  Cover and simmer until chicken is fully cooked.  (About 15 minutes)
4. Once chicken is fully cooked remove from tomato sauce and shred chicken.  Place the shredded chicken back in to the tomato sauce.  Cook until the sauce reduces and blends in to the chicken.
4.  Spoon in to warm tortillas and add your favorite taco toppings.
And guess what was for dessert?? 🙂

Grilled Bruschetta Chicken

This is a quick and healthy chicken recipe that I found on a great blog.  It turned out delicious and it’s so easy to make.

Enjoy!

Ingredients:

  • 4 small skinless, boneless chicken breast (or 2 large ones, halved)
  • 1/2 cup Sun-dried tomato dressing
  • 1 large tomato finely chopped
  • 1/2 cup shredded skim mozzarella cheese
  • 1/4 fresh basil or 1 tsp tried basil
Instructions: 
1. Marinate chicken in1/4 cup of the sun dried tomato dressing for at least 10 minutes, the longer you marinate, the better the flavors will be! (Refrigerate while marinating!)
2.  Grill chicken until thoroughly cooked (I’m not good a grilling, it’s usually Mina’s job, but since he was coming home late I just decided to use my George Forman grill on med-high heat – worked perfectly!)
3. While chicken is cooking combine chopped tomato, basil, and remaining 1/4 cup of the dressing in to a bowl.
4.  Pre-heat oven to 400.  Place cooked chicken on baking sheet or dish.  Top each chicken breast with spoonfuls to tomato mixture.  Sprinkle with mozzarella cheese.  Place in oven for about 5-8 minutes or until cheese is fully melted.  (If using a grill, you can place back on grill instead of using oven!)

I served it with a pasta tossed in a light basal tomato sauce and a salad.  Turned out delicious!

Sugar Cookies (Shaped like teeth!!)

A few of the girls from our class had a brilliant idea and decided to have an “Estrogen” party, they kindly invited all the girls from our class over for a night of relaxing.  We’ve been swamped with exams lately and this was a great way to unwind/forget about school for a night.

Surprise, surprise… I couldn’t help myself but bring a baked good.  A good friend of mine (Jessica Martinez!) came over and we decided to make sugar cookies… in the shape of teeth!!! How fitting was this?  I got this tooth shaped cookie cutter months ago at a dental expo and I have been itching to use it.  I couldn’t help but gush and call every tooth shaped cookie “cute.”  Seriously, they turned out so so cute!  How can teeth be cute, you ask?  Just scroll down and judge for yourself.

While the teeth did in fact turn out adorable, they also turned out delicious! Both the sugar cookie recipe (from allrecipes.com) and the buttercream frosting recipe (from wilton) were awesome.

You should be warned of a couple of things… first off, the cookie recipe makes A LOT of cookies, nearly 5 dozen, depending on the size of your cookie cutter.  Also, the buttercream frosting is so delicious that you could spoon it out and eat it on its own. Don’t say I didn’t warn you.

Enjoy 🙂

Ingredients for cookie:

  • 1 1/2 cups butter, softened
  • 2 cups white sugar
  • 1 cup powdered sugar (added this after reading some reviews)
  • 4 eggs
  • 2 teaspoons vanilla extract
  • 5 cups all-purpose flour
  • 2 teaspoons baking powder
  • 1 teaspoon salt
Instructions for cookie:
  1. In a large bowl, cream together butter and sugar until smooth. Beat in eggs and vanilla. Stir in the flour, baking powder, and salt. Cover, and chill dough for at least one hour (or overnight).
  2. Preheat oven to 400 degrees F (200 degrees C). Roll out dough on surface covered with powdered sugar.  Dough should be 1/4 to 1/2 inch thick. Cut into shapes with any cookie cutter. Place cookies 1 inch apart on ungreased cookie sheets.
  3. Bake 5 to 7 minutes in preheated oven. Cool completely.
Ingredients for buttercream frosting:
  • 1 cup solid vegetable shortening*
  • 1 teaspoon clear vanilla extract
  • 1 teaspoon clear butter flavoring
  • 2 tablespoons water (or milk)
  • 1 tablespoon merengue powder*
  • 4 cups sifted confectioners’ sugar (approximately 1 lb.
  •  *  Get white shortening, not yellow! So you can dye the icing without it already having a tint of yellow.  Also, the merengue powder is optional. From my understanding, the purpose of adding this powder is to stabilize the buttercream, so when you add dye it prevents darker dye colors from bleeding in to lighter colors. But I’ve made buttercream frostings without adding merengue powder and it turns out perfect.
Instructions:
  1. With an electric mixer, soften shortening.  Add vanilla, butter flavoring, water (or milk), and merengue powder.  Mix well.
  2. Start adding powdered sugar, one cup at a time until well blended.  I like my buttercream frosting to be really sweet, so taste as you go and add more or less depending on your sweet tooth 🙂
  3. Frost your cookies!
Here’s a glimpse of the Estrogen party 🙂
We know how to eat 🙂

Jessica and I

Pumpkin Chocolate Chip Creme Pies

Oh. My. Goodness.  These turned out so so yummy! The pumpkin craze continues!

I was inspired to find a creme pie cookie recipe after a friend from school made homemade oatmeal creme pies one day last week.  (Check out Ashely’s blog, its so cute!) I got this recipe from the Tasty Kitchen, and these sure were tasty! The original recipe didn’t have chocolate chips, but I figured why not? Who doesn’t love a little chocolate?

This is such a great pumpkin recipe! Not to mention, making these were a great distraction from studying orthodontics.

Here’s the recipe, enjoy!!

Ingredients:

For Creme Pies:

  • 1 cup Brown Sugar
  • 1 cup Sugar
  • 1 cup Vegetable Oil
  • 1 can Pumpkin (15 Oz.)
  • 2 whole Eggs
  • 1 teaspoon Vanilla Extract
  • 3 cups All-purpose Flour
  • 1 teaspoon Baking Soda
  • 1 teaspoon Baking Powder
  • 1 Tablespoon Cinnamon
  • 1 teaspoon Ground Ginger
  • ½ teaspoons Salt
  • ½ teaspoons Ground Nutmeg
  • 2 cups Chocolate Chips (optional)
For Filling:
  • 1 package Cream Cheese Softened (8 Oz.)
  • 1 stick Unsalted Butter, Room Temperature
  • 1 package Powdered Sugar (16 Oz.)
  • 3 drops Vanilla Extract
  • 3 dashes Cinnamon
Instructions for creme pies:
1.  Preheat oven to 350 degrees.
2. Beat together brown sugar, sugar, oil and pumpkin. Add eggs one at time, mixing well after each addition, followed by the vanilla.
3. In a separate bowl, mix together the dry ingredients.
4. Slowly incorporate the dry ingredients into the wet until just combined. Fold in chocolate chips.
5. Spray baking sheets with PAM.  Spoon tablespoon full of batter on baking sheet.  Trying to keep each spoonful about the same size.
6. Bake for 12 minutes, or until firm.  Cool on rack.
Instructions for filling:
1. Beat together cream cheese and butter. Add powdered sugar, vanilla and cinnamon. Frost flat side of half the pies and top with another piece.

Ps – This filling is delicious!! As in it could’ve been spooned out of the bowl and eaten as it’s own food group kind of delicious
Spread filling on flat side of pie. Place a second pie, flat side down on top.
Now, it’s time to enjoy this delicious goodness.

Molokhia

So this recipe by no means belongs in the all-american meal category….in case you didn’t notice when you read the title and had trouble pronouncing it.  This is an Arabic dish that my mom made us quite regularly growing up and it’s delicious.  It’s something so simple and so comforting that brings me right back to being at home.

Molokhia (pronounced mulukhyia) is a green leafy plant and is prepared by finely chopping the leaves and cooking it in a chicken broth with some garlic.  No, I don’t have my own little molokhia garden growing in the back – however, most arabic stores sell this in the frozen food section.  Here’s what the package looks like:


As far as the nutrition facts go, 1/2 cup is 20 calories, it has 0.3 grams of fat, 3.1 grams of carbohydrates, and 1.3 grams of proteins.  It’s traditionally served over rice and/or some pita breads that’s made crunchy in the oven!  The consistency might seem a little strange to some – I guess some people might describe it as “slimy?”  But I promise it’s not a gross slime 🙂

Ingredients:

  • 1 package of Molokhia
  • 4 cups of water
  • 2 bouillon cubes
  • 1 1/2 teaspoons of salt
  • 1 teaspoon margarine
  • 1 tablespoon of garlic

Instcturions:

1. Put 4 cups of water in pot.  Add 2 bouillon cubes.  Bring to boil. (This part is actually the lazy way out…you’re supposed to boil chicken and use the stock from the chicken instead of the water and cubes)

2. Reduce heat to medium-high.  Add frozen package of Molokhia and salt.  NEVER bring to a boil, leaves and water will separate.

3.  Once hot, place 1 teaspoon of margarine in separate, small pan. Add garlic and cook until golden yellow color.  Now add garlic to soup.

4.  Serve over rice.  Enjoy!

Pulled Porkies

So school is kicking my butt.  For those of you out there who are pre-dental and want to go to dental school….DON’T DO IT! Just kidding.  (Well, kind of just kidding.)  I’m learning so much and I really do believe I am in the right place and that this is the career for me…It’s just beyond exhausting.  Wah, wah, this sucks, wah!!!  <– me, whining.  I’m done now.

Now on to more important things, like pulled pork sandwiches.  It’s a really quick and easy meal that I made last week and it turned out delicious.  I kind of just came up with my own recipe after reading a few different ones online.  It’s simple and delicious! Enjoy.

Ingredients:

  • 2 lb Boston butt or pork tenderloin
  • 2 cups of water OR 1 can of root beer ( I didn’t have any root beer, so I stuck with water)
  • 1 tablespoon chopped garlic
  • 1 tablespoon salt
  • 1 tablespoon water
  • 1 bottle of your favorite BBQ sauce
Instructrions:
1.  Trim excess fat off pork.  Season all sides with garlic, salt, and pepper.  Place in slow cooker.
2. Add 2 cups of water.
3.  Cook on low heat for 7-8 hours.
4.  Shred meat and place in pan on stove.  Add BBQ sauce (as much as you’d like! We like ours pretty saucy).  Heat all together.  Serve on buns of your choice.

Semi Homemade Pizza

I finally got around to making my own pizza at home! The reason I consider it “semi” homemade, is because I used pre-made crust by Pilsbury.  I don’t really have time to make my own dough right now, but this was the perfect alternative.  These turned out DELICIOUS!

I made two, one with pepperoni, black olives, and cheese (per Mina’s request) and one with feta cheese, shredded chicken, basil and black olives.  My favorite was the feta with chicken  pizza. So so yummy.  I’ll walk through the steps of the feta with chicken pizza, just because the pepperoni pizza was pretty straight forward.

Ingredients:

  • 1 lb chicken breast
  • Salt, pepper, basil to taste (~1 tsp of each)
  • Pilsbury pizza dough
  • 1 tablespoon olive oil
  • Garlic salt
  • Crumbled feta cheese
  • Sliced black olives
  • Fresh basil leaves
Instructions:

1. Boil chicken until thoroughly cooked.  Once cooked through, shred chicken. Season shredded chicken with salt, black pepper, and basil to desired taste.  Set aside.

2. Line cookie sheet with foil and spray well with pam.  Unroll Pilsbury on to baking sheet.  Spread out to desired thickness.

3. Brush dough with olive oil and then sprinkle with garlic salt.

4.  Line dough with mariner sauce.  Cover with feta cheese, shredded chicken, black olives, and several fresh basil leaves.

5.  Cook on 425 for 18-20 minutes, until crust in golden brown.   Enjoy!


Slow Cooker Chicken

This recipe requires that an entire small chicken be put in the crockpot….I have to admit, this sounded pretty scary to me.  So as I was doing some recipe-research, the very first recipe I found told me to put balls of foil on the bottom of the crockpot and then place the chicken on top and allow to cook for 8 hours on low…that sounds dangerous right?  Or maybe it’s just me. I just pictured myself coming home to a house in flames, due to balls of foil…

So I made up my own recipe.  It’s actually pretty similar to the pot roast I made one day last week.  The meat will FALL off the bones and will be so so juicy.  It’s such an easy recipe and it’s so healthy for you because all the fat just melts off as it cooks all day long.  Not to mention you can do so many different things with all the left overs!

Ok, recipe time! Enjoy!

Main ingredient: 1 whole chicken (2 – 3 pounds)

Now getting the chicken ready, is the worst part (for me at least).. you have to remove all the skin off the chicken and you must remove everything from the inside. Some chickens come still stuffed with their “insides,” and others come already cleaned.  Once skinned and cleaned out, rinse with water.  I hate this part… Kind of grosses me out if I actually process what I’m doing.

Before


After

Next, place any vegetables you’d like in the bottom of the slow cooker (I used small red potatoes, carrots, and a large chopped onion).  Sprinkle vegetables with salt and pepper.

Now it’s time to season the chicken. I have to be honest and say that I took the lazy way out this time… I have a couple of different seasonings that I have used in the past.  This time I used the montreal steak seasoning (it’s a nice blend of salt, pepper, garlic salt..etc), it has great flavor! Once seasoned, place chicken over the vegetables at the bottom of the crockpot. Add two cups of chicken broth.   


Cook for a 8 hours on low….

8 hours later you will have a delicious meal!


Easy Skillet Chicken Parm

Tonight for dinner I made an easy chicken parmesan recipe that I discovered on allrecipes.com.  I didn’t make too many changes to the recipe.  Chicken parm and eggplant parm are two of my favorite things to order at Italian restaurants, so I was pretty excited to find this recipe.  I like it for a couple of reasons, first because it doesn’t take forever to make and second because it didn’t involve any breading or deep frying, so it wasn’t as heavy (or unhealthy) as so many other chicken parm recipes are.  This turned out delicious, it’s a must try!

Enjoy!

Ingredients:

  • 1 tablespoon olive oil
  • 1 tablespoon garlic
  • 2 chicken breast, cut in half
  • Salt, pepper, italian seasoning
  • 2 cups of your favorite pasta sauce
  • 1/2 pound of cooked pasta (pasta’s come in one pound packages, so I used half for the two of us)
  • 1/4 cup grated parmasean cheese
  • 1 cup shredded mozzarella cheese
Instructions:
1.  On medium-high heat, heat olive oil in skillet. Once hot, add garlic and chicken.  While chicken is cooking add pinch of salt, pepper, and italian seasoning to each side of chicken breast.
2.  Cook chicken breast for about 15 minutes total, until each side is a golden brown.
3.  Add pasta sauce and parmesan cheese. Reduce to medium heat, cover and cook for 10 minutes or until chicken is completely cooked through.
4.  Sprinkle with mozzarella cheese and let stand until cheese is completely melted.  Serve over pasta of your choice.
On the side I made some asparagus, that I cooked the same way that I made the zucchini with parmesan.  It turned out delicious! (Although Mina’s thoughts on the asparagus were – ewww whats that, those look alive).
Tonights meal was a success!