The Perfect Sugar Cookies {+A Very Merry Christmas}

Merry Christmas friends!  I hope that everyone spent the day with loved ones.   My mom and dad are in town for the week visiting from Jersey.   Unfortunately, they both have terrible colds <insert emoji wearing facemask>.  We are making the best of it and they are getting plenty of r&r.

Check out this great shirt my mom stumbled upon a couple of weeks ago at TJ Max.  I have been sporting it all day.   I wonder if I can wear this all year long.  Hmmm…

IMG_7656

This year for Christmas we each bought one gift per person and it was perfect!  My parents got me a gift card for Stitch Fix, eeeee!! Have any of you ever used Stitch Fix?  I am so freaking excited.  My first delivery is to arrive on January 5th and I cannot wait.  I also got a new laptop from Husband and it is perfection.  Love love love.   My old laptop was dying and this could not have come at a better time since I will start studying for my pediatric dental board exam soon, whomp whomp. I am truly thankful for this holiday season.

FullSizeRender 6

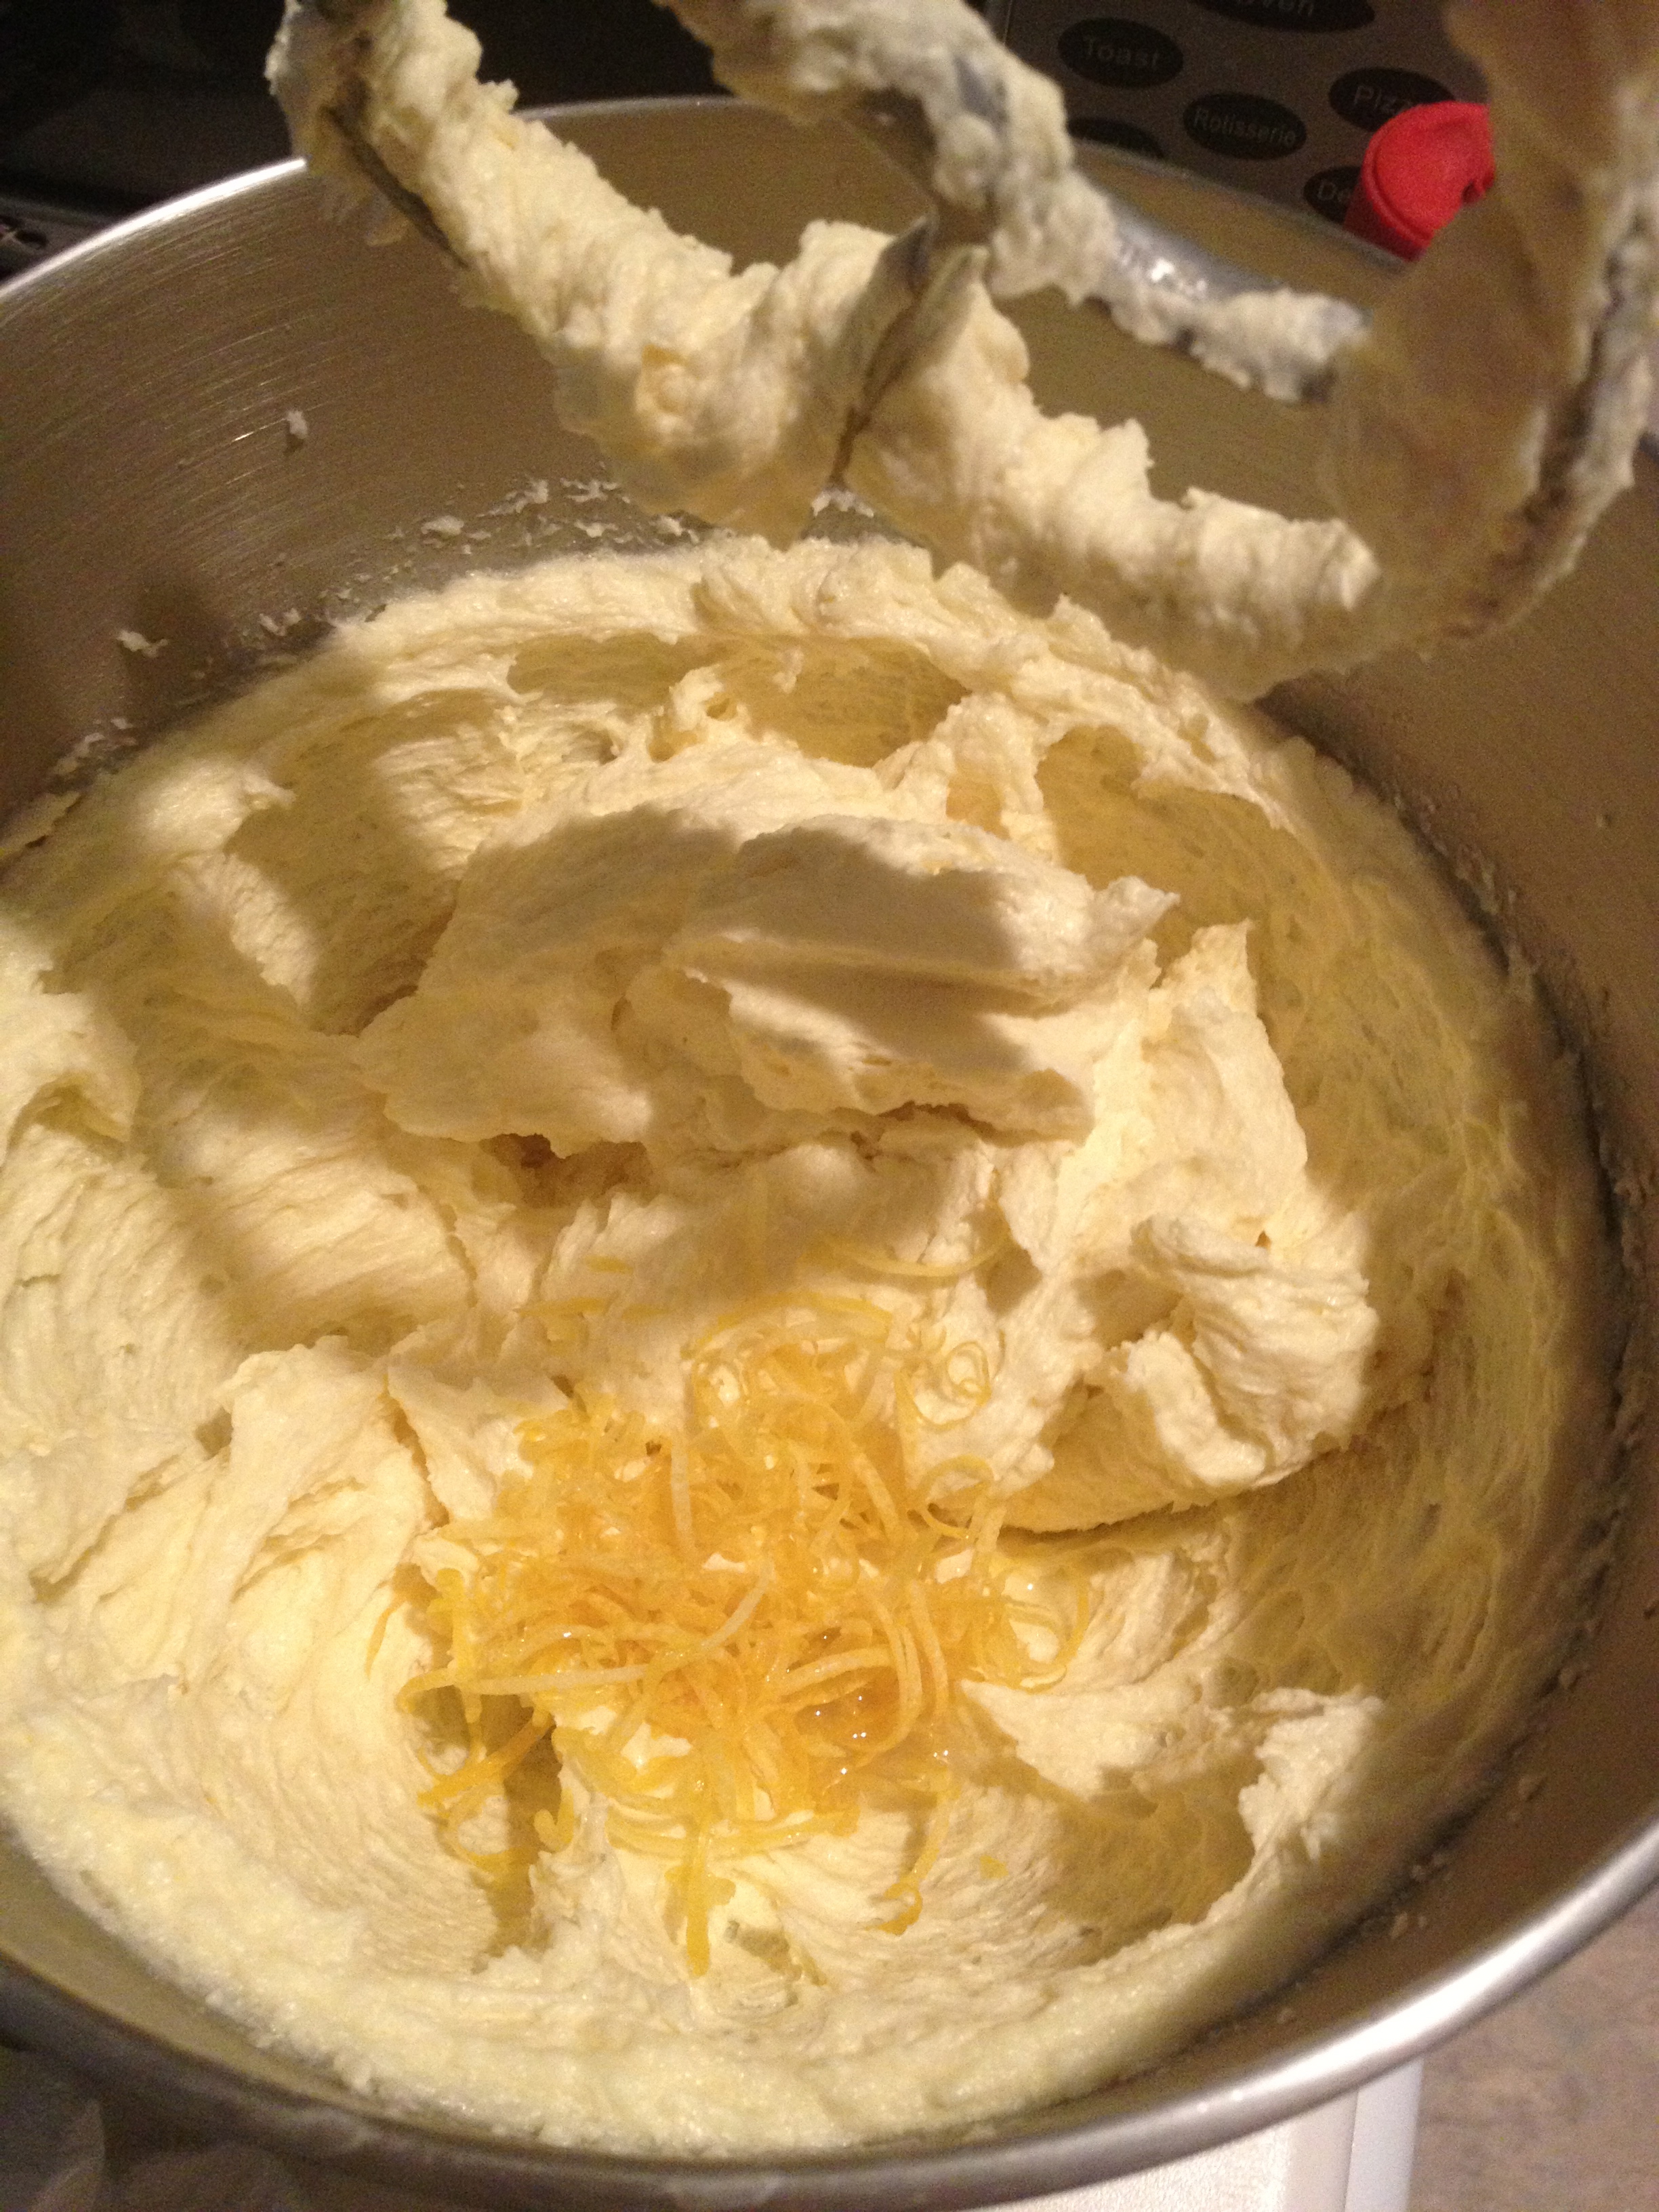
I have a fantastic sugar cookie recipe to share with you.  Last weekend my friend Kait and I made these and they turned out fantastic.  I like this recipe for several reasons:
1. The dough does not require a long chill time.
2. They don’t expand and flatten in the oven.
3.  They hold their shape.
4.  The recipe is simple.

This will absolutely be my new go to sugar cookie recipe! Enjoy.

FullSizeRender

Ingredients:

  • 1 cup unsalted butter, room temperature
  • 1¼ cup sugar
  • 1 egg
  • 2 teaspoons vanilla extract
  • 3 cups of flour
  • 1½ teaspoons baking powder
  • ¼ teaspoon salt

Instructions: 

1. In a large mixing bowl, cream together butter and sugar until light and fluffy, about 2 minutes. Add in egg and vanilla extract, mix until combined.

2.In a separate bowl, combine flour, baking powder, and salt. Slowly add the flour mixture to the butter mixture and mix until completely combined.

3. Chill dough for about 20-30 minutes.

4. Roll out dough to about 1/4 inch thickness.   Use flour on table and rolling pin to help eliminate stickiness of dough.

5. Cut dough into shapes with cookie cutters and transfer to a baking sheet.

FullSizeRender 4

6. Bake at 350 degrees for 7-12 minutes. Cool on baking sheet 5 minutes, then transfer to a baking rack to cool completely.

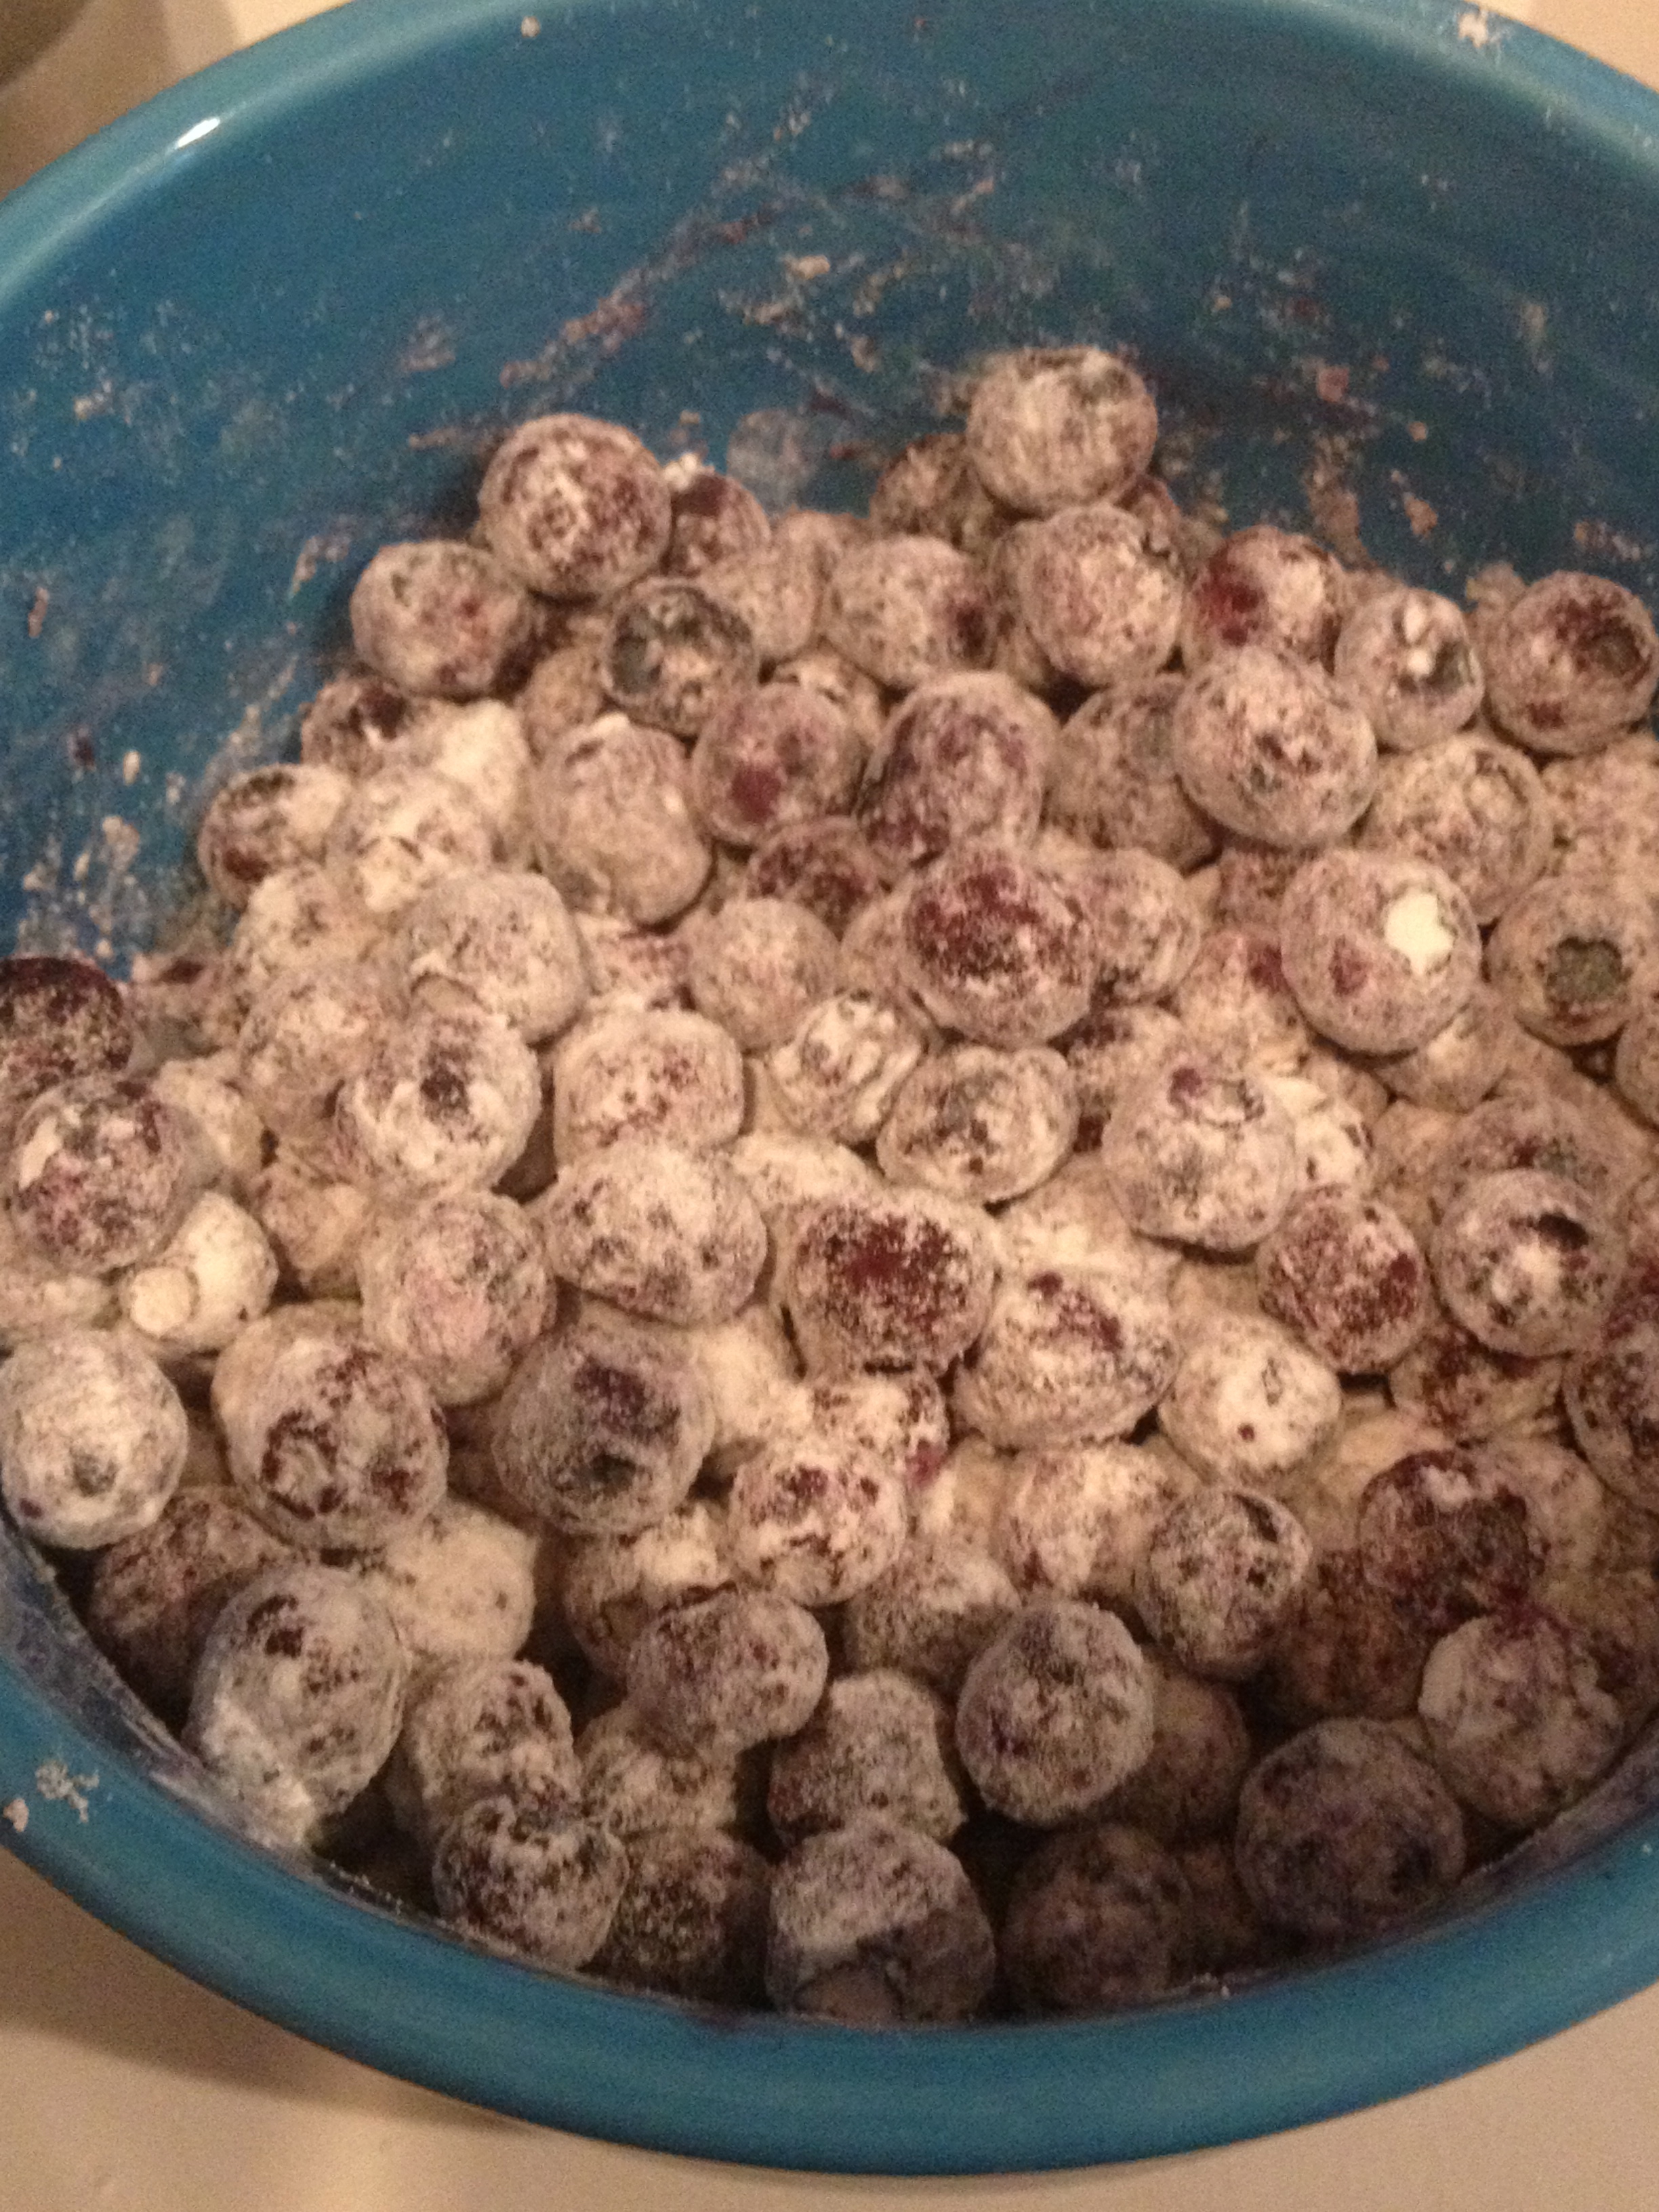
7. Decorate as desired!  We decorated ours with a simple buttercream frosting and sprinkles.   They even tasted great without icing.

8. Store in an airtight container. One batch makes about 30-40cookies.

FullSizeRender 3

Apple Fritter Cake {+ Friendsgiving}

Another friendsgiving has come and gone.  During the five years we lived in Columbus we hosted a Friendsgiving at our house annually and it was one of my favorite gatherings to host.  By the end of the night I remember always feeling that my heart was full with happiness and my belly was full with delicious food.  This year the feeling was no different.  Tonight we were fortunate enough to attend Friendsgiving at our friend Kait’s house (Thanks Kait!).  I’m not going to lie, it’s been a few hours sine we ate and it still kind of hurts to breathe #worthit.  It was potluck style and we had some fantastic dishes.  I brought green beans with garlic roasted almonds and an Oreo cheesecake for dessert.  Stay tuned for those recipes!

FullSizeRender

FullSizeRender (2)

In honor of Thanksgiving being just a few days away, I am sharing a great recipe for Apple Fritter Cake. This sweet cake with a cup of hot coffee will make the perfect Thanksgiving day breakfast treat, trust me on this one.  Not to mention the old-fashioned creme glaze that is so good you’ll be spooning it out of the bowl and in to your mouth.   Make this for your family and friends, it will be a huge hit!

FullSizeRender (1)

Ingredients for the cake: 

  • 1/3 cup of brown sugar
  • 1 teaspoon cinnamon
  • 2/3 cup white sugar
  • 1/2 cup butter, softened
  • 2 eggs
  • 1 1/2 teaspoon vanilla extract
  • 1 1/2 cups all purpose flour
  • 1 3/4 teaspoons baking powder
  • 1/2 cup almond milk (or reg milk)
  • 2 apples peeled and chopped, mixed with 2 teaspoons sugar, 2 teaspoons brown sugar, 1 teaspoon cinnamon

Ingredients for the old-fashioned crème glaze: 

  • 1/2 cup powdered sugar
  • 1 – 3 tablespoons milk (adjust depending on desired thickness)

Instructions: 

1. Preheat oven to 350 degrees. Use an 8×8  pan and spray with non-stick spray (or use a 9×5-inch loaf pan).

2. Mix brown sugar and cinnamon together in a bowl. Set aside.

3. In another medium-sized bowl, beat white sugar and butter together using an electric mixer until smooth and creamy.

4. Beat in eggs, 1 at a time, until blended in; add in vanilla extract.

5. Combine & whisk flour and baking powder together in another bowl and add into creamed butter mixture and stir until blended.

6. Mix milk into batter until smooth.

7. Pour half the batter into the prepared pan; add half the apple mixture, then half the brown sugar/cinnamon mixture.

8 Lightly pat apple mixture into batter.

9. Pour the remaining batter over apple layer and top with remaining apple mixture, then the remaining brown sugar/cinnamon mixture.

10. Lightly pat apples into batter; swirl brown sugar mixture through apples using knife or spoon.

IMG_7063

11. Bake in the preheated oven until a toothpick inserted in the center of the loaf comes out clean, approximately 50-60 minutes.

12. To make glaze, mix powdered sugar and milk or cream together until well mixed.

13. Let cool for about 15 minutes before drizzling with glaze.

IMG_7065


IMG_7066


Here are some other great Thanksgiving desserts for you to check out:

Current Obsessions Wednesday {#1}


Happy Wednesday, friends!  I haven’t posted in a couple of weeks; since returning from Orlando time has whizzed by me. I can’t believe Thanksgiving is NEXT WEEK! I still haven’t finalized my menu, but I am looking forward to a low-key thanksgiving day with Husband.  He has to work on Friday so we are staying in Cincinnati for the holiday.  I plan on eating and lounging all day long.  

I decided to take this opportunity to share some of my current favorite things with you.  Some of the things I will share will be food related and others will just be life related.  I think it’s so easy to get in to a food rut so whenever I go to the grocery store, I make an effort to branch out and try something new, sometimes these become obsessions and other times not so much.  Hopefully this post will inspire you to branch out and try something new! 

POM POMS

IMG_7313

One of my favorite fall/winter fruits is pomegranate.  There’s only one problem with this fruit… peeling out all of those tiny little seeds! They fly everywhere and leave me frustrated with red fingertips. This is genius, why didn’t I think of this? These little Pom Poms are the perfect serving size.

Sargento Balanced Breaks

IMG_7314.JPG

I found these Sargento Balanced Breaks in the cheese section at the grocery store a few weesk ago. They have these in different cheese-nut combinations, but so far my favorite has been the pepper jack cheese with honey roasted peanuts and raisins.  When you open this package for the first time, expect a little sadness. Holy portion control!  I will admit, I am always left satisfied; it’s just alarming initially when I see how little I get to snack on.

Happy Feat 

IMG_7312.JPG

The name says it all… Happy Feet – “The original big sneaker slipper.”  Husband and I treated ourselves to some new house slipper and they are AMAZING! I’m not going to lie, it took me awhile to commit to one, there are so many great options.  Mine are Ohio State polka-dot ones and husbands are black bears.  I tried to make husband walk around making bear-like growling noises, but it didn’t work.  These slippers are so soft and squishy and make my feet so happy. I think these would be a great gift for loved ones for Christmas!

Sweet Kale Chopped Salad 

IMG_7328.JPG

I take salads to work most days for lunch and usually top the salads with protein left overs from the night before.  I am loving this sweet kale mix, it has broccoli, kale, brussel sprouts, cabbage, and radicchio.  This mix is a nice change from a traditional spring mix.

Fresh Flowers 

IMG_7327.JPG

Fresh flowers are seriously my favorite thing right now.  Having fresh flowers on the kitchen table just brings a smile to my face.  Our local grocery store sells small boquets for about $6.00 and they last about two weeks.   Six bucks for two weeks worth of happiness, sold!

What are some of your current obsessions?

{Goodbye Summer} Lemon Blueberry Cupcakes with a Lemon Buttercream Frosting

Happy Autumn, everyone!

I love summer, so I felt it necessary to give summer a proper goodbye before welcoming fall with open arms.  A few weeks ago I made these fabulous cupcakes and brought them in to the clinic I was working at for the week.  They were a huge success. If i was asked to describe the taste of summer, this would be it.   The blueberry-lemon combination was the perfect mix of sweet and tart. I was hesitant at first to do a lemon buttercream frosting because I didn’t want the lemon to be too overpowering, but I think it was quite the opposite.  The icing really brought out the flavor of the cupcake without being overpowering.   I cannot wait to make these again!

Enjoy 🙂

Ingredients for cupcake: 

  • 3 cups plus 2 tablespoons  flour, divided
  • 1 tablespoon baking powder
  • 1/2 teaspoon baking soda
  • 1/2 teaspoon salt
  • 16 tablespoons unsalted butter, room temperature
  • 2 cups sugar
  • 3 eggs, room temperature
  • 1 teaspoon vanilla extract
  • zest of 1 lemon
  • 2 tablespoon freshly squeezed lemon juice
  • 1 1/2 cups whole milk, at room temperature
  • 1 1/2  cup blueberries

Ingredients for icing: 

  • 1 cup crisco, butter flavor
  • 4 cups powdered sugar
  • 1 tablespoon vanilla
  • Zest from 1 lemon
  • 1 tablespoon freshly squeezed lemon juice

Instructions: 

1. Preheat oven to 350 degrees. Line muffin pan with paper liners.

2. In a medium bowl, whisk together 3 cups of flour, baking powder, baking soda and salt; set aside.

3. In the bowl of a stand mixer fitted with the paddle attachment, cream together butter and sugar until light and fluffy.
Add eggs one at a time, beating thoroughly after each addition. Mix in vanilla extract, lemon zest, and lemon juice.

4. Reduce the mixer to low speed and add the flour mixture in 3 batches, alternating with the milk, starting and ending with flour. Mix until just incorporated, do not over-beat.

IMG_2527

5. In a small bowl, toss the blueberries with the remaining 2 tablespoons of flour. Using a spatula gently fold the berries into the cake batter.

IMG_2528

6. Divide the batter evenly among muffin pan cups.
7. Bake 17-19 minutes or until toothpick inserted into center of cupcakes comes out clean. Let cool in the muffin pan 5 minutes, then transfer to a wire rack to cool completely.
8. For the frosting: Place butter  in the bowl of a stand mixer fitted with the paddle attachment. Beat until fluffy, about 3 minutes. Add confectioners sugar, vanilla,  lemon juice, and lemon zest. Mix until thick and creamy. Add more powdered sugar if necessary until the frosting is of good piping consistency. Pipe frosting onto cooled cupcakes.

IMG_2531


Goodbye summer!

Moms Christmas Rice

Merry Christmas! Christmas this year was low key and quiet, but I loved every moment of it.  We celebrated with my in-laws the weekend before Christmas.  Christmas day was spent with Mom and Husband.  We stayed in pjs, watched movies, and ate endless amounts of food all day long.  Perfection!

For dinner on Christmas day mom made us her famous Christmas Rice, it was delicious! This is one of my favorite dishes, once you start eating it, you can’t stop… consider yourself warned.

Enjoy 🙂

Ingredients: 

  • 1 Pound Lean ground beef
  • 1.5 Cups rice 
  • 3 Cups water
  • 4 Tablespoon butter
  • 1/2 Yellow onion, chopped
  • 2 Teaspoon cinnamon
  • 1/2 Teaspoon salt
  • 1 Package sliced almonds

Instructions: 

1. Cook ground beef in skillet, drain excess fat.  Season with salt and pepper to taste. Set aside.

2. Place 2 tablespoons of butter in pot and chopped onion.  Saute onions until bright golden yellow color.

3.  Add rice, water, cinnamon and salt.  Bring to boil. Cover pot and simmer, until rice is cooked.

IMG_1050

4. While rice is cooking add 2 tablespoons butter and almonds to skillet.  Saute almonds until lightly browned.

IMG_1051

5.  In serving dish arrange cooked rice, ground beef, and almonds as desired.

IMG_1053

Middle Eastern Beef Goulash

Last nights initial dinner plan was a homemade chicken noodle soup… and then the sun was shinning and it was close to 50 degrees outside.  During a normal February day in Ohio it would be gloomy, snowy, and freezing outside, aka soup weather.  Not so much the case for today (which I am so okay with!). Chicken noodle soup, will just have to wait.

Instead, I was really in the mood for some home cooked Arabic food.  This is the middle eastern version of goulash, and its so so yummy.  It can be made with ground beef or with a feta cheese blend.  This is one of grandma’s recipes, it was my first time making it and she will be pleased to know that it turned out delicious!

Enjoy 🙂

Ingredients:

  • 1 tsp olive oil
  • 1 large onion, chopped
  • 1 lb ground beef
  • Salt and pepper to taste
  • 1 package defrosted philo dough (usually found in frozen food section)
  • 1 cup butter (or margarine) melted

Instructions: 

1.  Pre heat oven to 350 degrees.

2.  Heat oil in pan.  Add onion.  Once onions are golden yellow, add ground beef.  Cook ground beef until completely browned, drain any excess fat.  Season ground beef with salt and pepper to taste.

3.  Melt 1 cup of butter.  Brush 13 x 9 baking dish liberally with butter.  Cut philo dough to fit baking dish (I had to cut mine in half).  Begin layering philo dough one sheet at a time.  Between every 3-4 layers, brush liberally with butter. Continue until 1/2 way through phil dough sheets.


4.  Once half way through philo dough sheets, add cooked ground beef evenly. Continue layering philo dough sheets, still adding butter between every 3-4 sheets.  Once last sheet has been placed, section with knife into sizes that you’d like to serve.  Place final layer of butter.

5.  Bake in oven, uncovered for 45 minutes.  For first 20 minutes place on low rack, during remaining time place in middle rack of oven.


Chili Cheese Macaroni

I told Husband that we were going to eat healthy every night this week… and then I made this for dinner?! Umm not so healthy…but oh so delicious! I stumbled upon this recipe a few days ago and I haven’t been able to stop thinking about it.  So so glad I made it.  This pasta dish really turned out great.  I mean it had all of our favorite things in it: chili + cheese + pasta = delicious comfort food.

Enjoy!

Ingredients: 

  • 1/2 pound elbow macaroni (about 2 cups uncooked pasta)
  • 3 tablespoons olive oil
  • 1 lb lean ground beef
  • 2 medium onions, chopped
  • 1 green bell pepper, stemmed, seeded and chopped
  • 3 teaspoons chopped garlic
  • 1 1/2 tablespoons chili powder
  • 1 tablespoon ground cumin
  • 1/2 tablespoon ground red pepper (for spice!)
  • 1 (28 oz) can crushed tomatoes (I didn’t have this, so I just crushed 1 1/2 cups of fresh tomatoes)
  • 1 (14.5 oz) can diced tomatoes
  • 1 can chili beans
  • 1 tablespoon light brown sugar
  • Salt and pepper to taste
  • 2 1/2 cups shredded cheese

Instructions: 

1. Preheat the oven to 400 degrees.

2.  Cook 1/2 pound of elbow macaroni; be sure to add 1 tablespoon of salt and 1 tablespoon olive oil to the boiling water.  Cook al dente.  Once pasta is cooked, save 1/2 cup of the pasta water on the side and drain the remaining water. Transfer pasta to a large bowl and set aside.

3.  Using the same large pot, wipe dry and heat over medium heat. Heat 1 tablespoon of olive oil  Add ground beef.  Once browned and fully cooked, remove from heat and drain any excess fat.  Set beef aside.

4.  In empty large pot, add 1 tablespoon oil and return to medium heat. Add onions, garlic, green pepper, chili powder, cumin, and red pepper; cook, stirring occasionally, until vegetables are softened and begin to brown.

5. Add crushed tomatoes, diced tomatoes, chili beans, brown sugar, reserved 1/2 cup pasta water and beef to the pot. Bring to a simmer and cook for 15 minutes, stirring occasionally until flavors have blended.

6. Stir in the cooked pasta, 1/2 cup of shredded cheese and season with salt and pepper to taste. Transfer mixture to a 9×13 baking dish and smooth over with a spatula. Cover and bake in the preheated oven for 20-25 minutes or until the mixture is hot and bubbling.

7.  Remove from oven and sprinkle the top of the dish with the remaining shredded cheese. Put dish back in oven for 5-10 minutes until the cheese melts and begins to brown.  Cool for 10 minutes before serving.

Modified from: Joelens Blog

Pumpkin Chocolate Chip Creme Pies

Oh. My. Goodness.  These turned out so so yummy! The pumpkin craze continues!

I was inspired to find a creme pie cookie recipe after a friend from school made homemade oatmeal creme pies one day last week.  (Check out Ashely’s blog, its so cute!) I got this recipe from the Tasty Kitchen, and these sure were tasty! The original recipe didn’t have chocolate chips, but I figured why not? Who doesn’t love a little chocolate?

This is such a great pumpkin recipe! Not to mention, making these were a great distraction from studying orthodontics.

Here’s the recipe, enjoy!!

Ingredients:

For Creme Pies:

  • 1 cup Brown Sugar
  • 1 cup Sugar
  • 1 cup Vegetable Oil
  • 1 can Pumpkin (15 Oz.)
  • 2 whole Eggs
  • 1 teaspoon Vanilla Extract
  • 3 cups All-purpose Flour
  • 1 teaspoon Baking Soda
  • 1 teaspoon Baking Powder
  • 1 Tablespoon Cinnamon
  • 1 teaspoon Ground Ginger
  • ½ teaspoons Salt
  • ½ teaspoons Ground Nutmeg
  • 2 cups Chocolate Chips (optional)
For Filling:
  • 1 package Cream Cheese Softened (8 Oz.)
  • 1 stick Unsalted Butter, Room Temperature
  • 1 package Powdered Sugar (16 Oz.)
  • 3 drops Vanilla Extract
  • 3 dashes Cinnamon
Instructions for creme pies:
1.  Preheat oven to 350 degrees.
2. Beat together brown sugar, sugar, oil and pumpkin. Add eggs one at time, mixing well after each addition, followed by the vanilla.
3. In a separate bowl, mix together the dry ingredients.
4. Slowly incorporate the dry ingredients into the wet until just combined. Fold in chocolate chips.
5. Spray baking sheets with PAM.  Spoon tablespoon full of batter on baking sheet.  Trying to keep each spoonful about the same size.
6. Bake for 12 minutes, or until firm.  Cool on rack.
Instructions for filling:
1. Beat together cream cheese and butter. Add powdered sugar, vanilla and cinnamon. Frost flat side of half the pies and top with another piece.

Ps – This filling is delicious!! As in it could’ve been spooned out of the bowl and eaten as it’s own food group kind of delicious
Spread filling on flat side of pie. Place a second pie, flat side down on top.
Now, it’s time to enjoy this delicious goodness.

Easy Skillet Chicken Parm

Tonight for dinner I made an easy chicken parmesan recipe that I discovered on allrecipes.com.  I didn’t make too many changes to the recipe.  Chicken parm and eggplant parm are two of my favorite things to order at Italian restaurants, so I was pretty excited to find this recipe.  I like it for a couple of reasons, first because it doesn’t take forever to make and second because it didn’t involve any breading or deep frying, so it wasn’t as heavy (or unhealthy) as so many other chicken parm recipes are.  This turned out delicious, it’s a must try!

Enjoy!

Ingredients:

  • 1 tablespoon olive oil
  • 1 tablespoon garlic
  • 2 chicken breast, cut in half
  • Salt, pepper, italian seasoning
  • 2 cups of your favorite pasta sauce
  • 1/2 pound of cooked pasta (pasta’s come in one pound packages, so I used half for the two of us)
  • 1/4 cup grated parmasean cheese
  • 1 cup shredded mozzarella cheese
Instructions:
1.  On medium-high heat, heat olive oil in skillet. Once hot, add garlic and chicken.  While chicken is cooking add pinch of salt, pepper, and italian seasoning to each side of chicken breast.
2.  Cook chicken breast for about 15 minutes total, until each side is a golden brown.
3.  Add pasta sauce and parmesan cheese. Reduce to medium heat, cover and cook for 10 minutes or until chicken is completely cooked through.
4.  Sprinkle with mozzarella cheese and let stand until cheese is completely melted.  Serve over pasta of your choice.
On the side I made some asparagus, that I cooked the same way that I made the zucchini with parmesan.  It turned out delicious! (Although Mina’s thoughts on the asparagus were – ewww whats that, those look alive).
Tonights meal was a success!

Shredded Buffalo Chicken Sandwiches

Tonight’s dinner was delicious and so easy! I will definitely be making this many more times 🙂 The whole meal was full of spice and flavor!  I hope you enjoy it as much as I did!

I got this recipe idea from a super cute blog that I recently discovered, Peanut Butter Fingers.

Ingredients:

  • 1 lb chicken breast
  • Salt, pepper, ground red pepper
  • Your favorite kind of buffalo sauce, I used Franks Red Hot Buffalo Sauce (it”s not super spicy)
  • 1 tablespoon shredded parmasean cheese
  • Ranch dressing
  • Burger buns:
Instructions
1. Sprinkle chicken breast with salt, pepper, and ground red pepper.
2. Boil pot of water and poach chicken until fully cooked.  (About 15 minutes)
3.  Shred cooked chicken and place in saucepan.
4. Add 1/3 cup of buffalo sauce and 1 tablespoon of shredded parmesan cheese.  Heat all together on medium heat.
5.  Serve on bun of your choice, along with any another toppings you typically like on your buffalo chicken sandwich.  We are a big fan of ranch dressing and I recently discovered  a spicy ranch dressing…YUM!!
On the side I made some sweet potato fires and fresh veggies.  These spicy sweet fries, were awesome! I actually didn’t taste any spice, but they were still great. This was my first time trying this brand and I am a huge fan.  🙂