Help Make a Boys Wish Come True

A few days ago, Julie from the blog Peanut Butter Fingers shared a post about a boy who needs help making his Christmas wish come true.  I just thought I’d pass this story on as I thought it was such an awesome opportunity to help make a little boys wish come true!

Max is an 8-year-old boy fighting leukemia, unfortunately he will not make it home to celebrate Christmas.  His awesome Christmas wish is that he would like to receive 1,000,000 Christmas cards in the mail!

If you would like to send him a Christmas card and help make his wish come true, then send your card here:

Max c/o Hailey Remish
417 Jones Street
Belle Vernon, PA  15012

Merry Christmas!

Molar Cupcakes

Although I’m done with classes, I just can’t seem to escape teeth!

My friend Nour, from school, came over today and we decided to tackle these tooth cupcakes. At first, I wasn’t so sure that we would be able to pull this one off.  We were having trouble really molding the cupcakes at first, then we got the hang of it.  They didn’t turn out so bad, they actually look like teeth! At the end of the day, our dental education seems to have paid off.

This isn’t so much of a recipe, but more of a “how to” for all you dental dorks out there that secretly want to try this!

What you’ll need: 

  • 12 baked yellow or white cupcakes
  • 12 pink cupcakes liners
  • 1 batch/container of buttercream of vanilla icing
  • 1 batch of white fondant

Instructions: 

1. Prepare 12 yellow or white cupcakes in pink cupcake liners. Use a box cake or your favorite from-scratch recipe.  In order to make 6 molar cupcakes, you will need 12 baked cupcakes.

2. Break 6 of the cupcakes up in to crumbs in a large bowls.  Mix these crumbs together with a few spoonfuls of icing, so that the crumbs are moldable but not too wet.  This mixture will be used to form the cusps of the tooth.

3.  Cover the 6 remaining cupcakes with a thin layer of frosting. Use the crumb/frosting mixture to form the cusps on top of the cupcakes.  I used clean fingers and a flat/thin fondant tool to help shape the cusps.  Get creative and use whatever you have to help you form the cusps!

4.  Roll out the fondant to 1/4″ thickness.  Drape the fondant over the cusps and cut off the excess fondant with a sharp knife.  Tuck in the edges of the excess fondant using a knife or your fingers.  Run your fingers over the cups to help the fondant form to the cusps.

Crunchy Baked Pork Chops + Ugly Christmas Sweater Party

I survived another quarter of dental school! That was brutal. There are no words.  I am so thankful for this three week vacation.  I plan on some cooking awesome meals, sleeping (a lot), baking, working out, watching tv, going shopping… doing normal people things! Man, all of that sounds pretty amazing, right?

Last night to celebrate completing another quarter of classes, the dental school fraternity held an ugly Christmas sweater party and I have to say we celebrated our freedom pretty well.

Anyways, now on to these crunchy baked pork chops. They turned out delicious! So crunchy and so full of flavor. Husband even liked them and he’s not a huge fan of pork chops!  I got the recipe idea from the Smitten Kitchen and I made a few changes.

Enjoy!

Ingredients: 

  • Salt and ground pepper
  • 4 boneless center-cut pork chops, 3/4 to 1 inch thick, trimmed of excess fat
  • 4 slices wheat sandwich bread, torn into 1-inch pieces
  • 3 medium garlic cloves, about 1 tablespoon
  • 2 tablespoons vegetable oil
  • 3 tablespoons grated Parmesan cheese
  • 1/2 teaspoon thyme
  • 2 tablespoons parsley
  • 1/4 cup plus 6 tablespoons unbleached all-purpose flour
  • 3 large egg whites
  • 3 tablespoons Dijon mustard ( I did not have Dijon mustard, so I just used regular)

Instructions: 

1. Adjust oven rack to middle position and pre- heat oven to 350 degrees. Season pork chops with salt and pepper.

2. Meanwhile, pulse bread in food processor until coarsely ground, Add garlic, oil, 1/4 teaspoon salt, and 1/4 teaspoon pepper. Toss until crumbs are evenly coated with oil. Place breadcrumb mixture on baking sheet. Bake until deep golden brown and dry, about 15 minutes, stirring twice during baking time. (Do not turn off oven.) Cool to room temperature. Toss crumbs with Parmesan, thyme, and parsley.

3. Place 1/4 cup flour in plate. In second plate, whisk egg whites and mustard until combined; add remaining 6 tablespoons flour and whisk until almost nearly smooth.

4. Increase oven temperature to 425 degrees. Cover 1 pork chop in flour; shake off excess. Using tongs, coat with egg and mustard mixture; let excess drip off. Coat all sides of the pork chop with bread crumb mixture, pressing gently so that thick layer of crumbs adheres to chop. Transfer breaded chop to baking dish. Repeat with remaining pork chops.

5. Bake for 17 to 25 minutes. Let rest for 5 minutes before serving.


Baked Brie

A couple of weeks ago a few girls from school were coming over for some wine and cheese.  I had some brie in the fridge so I decided to whip this up real quick.  I figured, Who doesn’t love ooey gooey cheese? This was my first time doing anything special with brie and I have to say… I’m in love.

It’s so quick and easy and I promise your guests will love it. I got the recipe idea from simplyrecipes.com.  Unfortunately I wasn’t able to snag an “after” pic.  I think we all got a little excited and started digging in right away!

Ingredients: 

  • 1 large sheet of puff pastry dough or 1 tube of refrigerated crescent dinner rolls
  • 1 round or wedge of Brie cheese (do not remove rind)
  • Raspberry Jam, or other sweet jam
  • 1 egg
  • 1 tablespoon water

Instructions: 

1 Preheat oven to 350 degrees F.

2 On a stick-free cookie sheet, lay out the puff pastry or the crescent rolls flat; put brie round or wedge on top.

2 Spread jam on brie, fold dough over top, cutting off excess dough

3.  Beat egg and water together.  Brush pastry with egg.

4.  Bake at 350º for 25-30 minutes, pastry should be golden brown. Let cool for 10 minutes before serving.

Image from simplyrecipes.com

“Buttermilk” Waffles

Before sitting down for a long “fun-filled” day of studying husband and I decided to make an awesome breakfast.  He was in charge of the eggs, bacon and sausage, whIle I took care of the waffles!

We got a new handy-dandy waffle maker on black friday from Target.  20 bucks!! It’s pretty great. It was one of many great deals we got that night!

These waffles turned out delicious! I didn’t actually have buttermilk so I had to make some substitutions.  Apparently 1 cup of milk + 1 tablespoon of lemon juice or vinegar = 1 cup of buttermilk.  So I went for it, and it worked!  I got the original recipe from food.com.  It made 8 waffles.  Although the first time we filled the waffle machine up, we had a minor explosion when we closed the lid.  (Over-filled, oops!) Lesson learned.  So I think that this recipe would’ve actually made more had we been a little smarter than the machine.  🙂

Enjoy!

Ingredients: 

  • 2 cups of flour
  • 1 teaspoon baking soda
  • 1 teaspoon baking powder
  • 1/2 teaspoon salt
  • 2 eggs beaten
  • 2 cups of buttermilk (2 cups of milk + 2 tablespoons of lemon juice)
  • 4 tablespoons of butter (or margarine, melted)

Instructions

1. In a mixing bowl, add flour, baking powder, salt, and soda; stir to mix

2. Add in eggs, buttermilk, and butter; mix well.

3. Pour batter into a preheated prepared waffle iron; cook until steaming stops and waffles are crisp and golden.


Cookies and Cream Cheesecakes

Thanksgiving day dessert #2.  These mini oreo cheesecakes were to. die. for.  Mina has already asked 3 times in the past 24 hours to make more. I chose to make these in addition to the Mini Pumpkin Cheesecakes for all the pumpkin haters out there.  I’m glad I did because they were such a hit.

I got this recipe form The Girl Who Ate Everything (originally from Martha Stewart).  I cut the recipe in half although I probably should’ve just made the full recipe… I have a feeling I’ll be make more sometime in the next couple of days. The original recipe makes 30.

Enjoy!

Ingredients: 

  • 42 Oreos, 30 left whole and 12 coarsely chopped
  • 2 pounds (32 ounces) cream cheese, softened
  • 1 cup granulated sugar
  • 1 teaspoon vanilla extract
  • 4 large eggs, lightly beaten
  • 1 cup sour cream
  • Pinch of salt

Instructions: 

1. Preheat oven to 275°. Line standard muffin pan with liners. Place 1 whole cookie in the bottom of each liner.

2. Beat cream cheese at medium speed using an electric mixer. Gradually add the sugar, beating until combined. Beat in vanilla.

3. Drizzle in eggs, a bit at a time. Beat in sour cream and salt. Stir in chopped cookies by hand.


4. Divide batter evenly among cookie-lined cups, filling each almost to the top. Bake, rotating pan halfway through, until filling is set, about 22 minutes.

5. Transfer to wire racks to cool completely. Refrigerate at least 4 hours (or overnight). Remove from tins just before serving. Garnish with fresh whipped cream and crumbled Oreos if desired.

Mini Pumpkin Cheesecakes

Happy Thanksgiving! This year for thanksgiving we went over to a friends house for dinner.  My contribution was something sweet (duh!).  I made two different desserts and they both turned out delicious!!

First, I made these incredible mini pumpkin cheesecakes.  I got the recipe from this new blog I discovered.  This recipe is so so full of flavor.  For those of you who don’t truly LOVE pumpkin, you’re not going to be a fan of these. This recipe really brought out the spices in pumpkin.  They were a huge hit and fairly easy to make!

Enjoy!

Ingredients:

Crust:

  • 1 cup cookie crumbs (I used Graham crackers)
  • 1 tsp ginger
  • 2 tbsp of any combination of the following spices: cinnamon, nutmeg, ginger, allspice
  • 2 tbsp melted margarine
  • 2 tbsp sugar

Filling:

  • 8oz room temperature cream cheese
  • 2 eggs
  • 2/3 cup of pumpkin
  • 1 tsp vanilla
  • 1 tsp of pumpkin spice
  • 1 tsp cinnamon
  • 1/2 cup of brown sugar

Instructions: 

1.  Preheat oven to 325 degrees.  Line a muffin pan with paper liners. This recipe made exactly 12 mini cheesecakes!

2.  Mix together all ingredients for cookie crust.  Press about a tablespoon of the mixture into each paper filled muffin cup.  Bake the crust for 8-10 minutes.  Let cool while you prepare the filling.  Lower the oven temperature to 300.

3.  Cream the cream cheese and sugar together.  Add in one egg at a time, waiting until each egg is fully incorporated. Add in vanilla and beat. Then add in the pumpkin and the spices.

4.  Fill each muffin tin until all the batter is used.  Bake for 25-30 minutes on 300 degrees. Remove from oven and allow to cool. Then chill in the ridge for a few hours before serving.


Coconut Macaroons

Calling all you coconut lovers out there! This is a great great coconut macaroon recipe.  I haven’t made this recipe in awhile and I am not really sure what made me think of them today, but I did and I thought I’d share.

I got this recipe front an awesome “Best Loved Desserts” cookbook.  It’s so quick and it only requires 5 ingredients.  How hard could this be, right?

Enjoy!

Ingredients:

  • 3 Cups flaked sweetened coconut
  • 3/4 Cup sugar
  • 4 Large egg whites
  • 1 Teaspoon vanilla extract
  • 1/8 Teaspoon almond extract


Instructions: 

1. Preheat oven to 325.  Line two cookie sheets with parchment or foil (if using foil, spray with pam!).

2. In large bowl, stir coconut, sugar, egg whites salt, vanilla, and almond extract until well combined.

3.  Drop batter by rounded teaspoons, 1 inch apart, on prepared cookie sheets.  Bake until set and lightly golden, about 25 minutes, rotating cookie sheets between upper and lower oven racks halfway through baking.

4.  Cool 2 minute on cookie sheets; with wide metal spatula, transfer cookies to wire racks to cool completely.

Creamy Chicken and Rice Soup

This was a last minute kind-of impromptu meal! The weather here has been crazy…one day its 70 and less than 24 hours later the high is in the 40’s.  It’s really been freaking my body out! Hot-cold, hot-cold, hot-cold! Make up your mind! I mean I don’t want to complain, because quite honestly I’m not a big fan of cold weather, but I just want it to stay one way or another… preferably towards the 70 degree end if at all possible!

Anyways, My original dinner plan for the evening was to make a chicken casserole that I had made awhile back, but all I really wanted was a hearty soup… I spent some serious quality time in class (oops!) searching for recipes, I finally the perfect recipe.

I’m not going to lie, I was a little nervous making this one.I mean at first it seemed fine, start by cooking the chicken and cutting it in to small pieces, chop and sauté the vegetables you’d like to add, so far so good…and then came the serious part. Make the roux.  What the heck’s a roux you ask? I had no idea either (that shows you how new I am to this whole cooking thing!) Well, i did the research and it’s used to thicken sauces and soups… here’s an article from allrecipes.com that explains how to make a roux.  You’ll be happy to know that I rouxed (not sure if this is really  word, but now it is!) away and the soup turned out delicious! Now whether or not I rouxed properly is an entirely different issue 🙂

Here’s the recipe, enjoy!

Ingredients:

  • 2 cups cooked, shredded chicken
  • 1 cup cooked brown rice (or white!)
  • 1/2 cup diced carrot
  • 1/4 cup diced celery
  • 1/2 cup diced onion
  • 1/2 cup sliced mushrooms
  • 4 tablespoons minced garlic
  • 1-1/2 tbsp extra virgin olive oil
  • 3 tbsp white whole wheat flour
  • 4-5 cups chicken broth/stock
  • 1/2 cup light sour cream
(Because this recipe was so last minute, I didn’t have too many vegetable options, but the original recipe called for broccoli as well and I bet that would’ve been delicious in here!)
Instructions: 
1. Prepare rice and chicken if not already using leftovers:
One cup dry, rice prepared with 1 cup water and 1 cup chicken stock adds depth of flavor. Follow package directions for cooking time. Saute chicken seasoned with salt and pepper in a small amount of oil over medium-high heat just until golden. Remove from heat and shred or chop into small pieces. Set aside.
2. Saute vegetables:
Heat a small amount of oil to medium and saute carrot, celery and onion just until tender. Add garlic. Saute one minute more and remove from heat. Set aside.
3. Make the roux.
In the same pan the vegetables were sautéed in, add oil and flour. Over medium heat, scrape cooked bits of vegetables (and chicken) from pan and incorporate into roux. Cook the roux until golden.  Depending not the type of flour you use the roux may be lighter (white flour) or darker (wheat flour).
4. Make the broth.
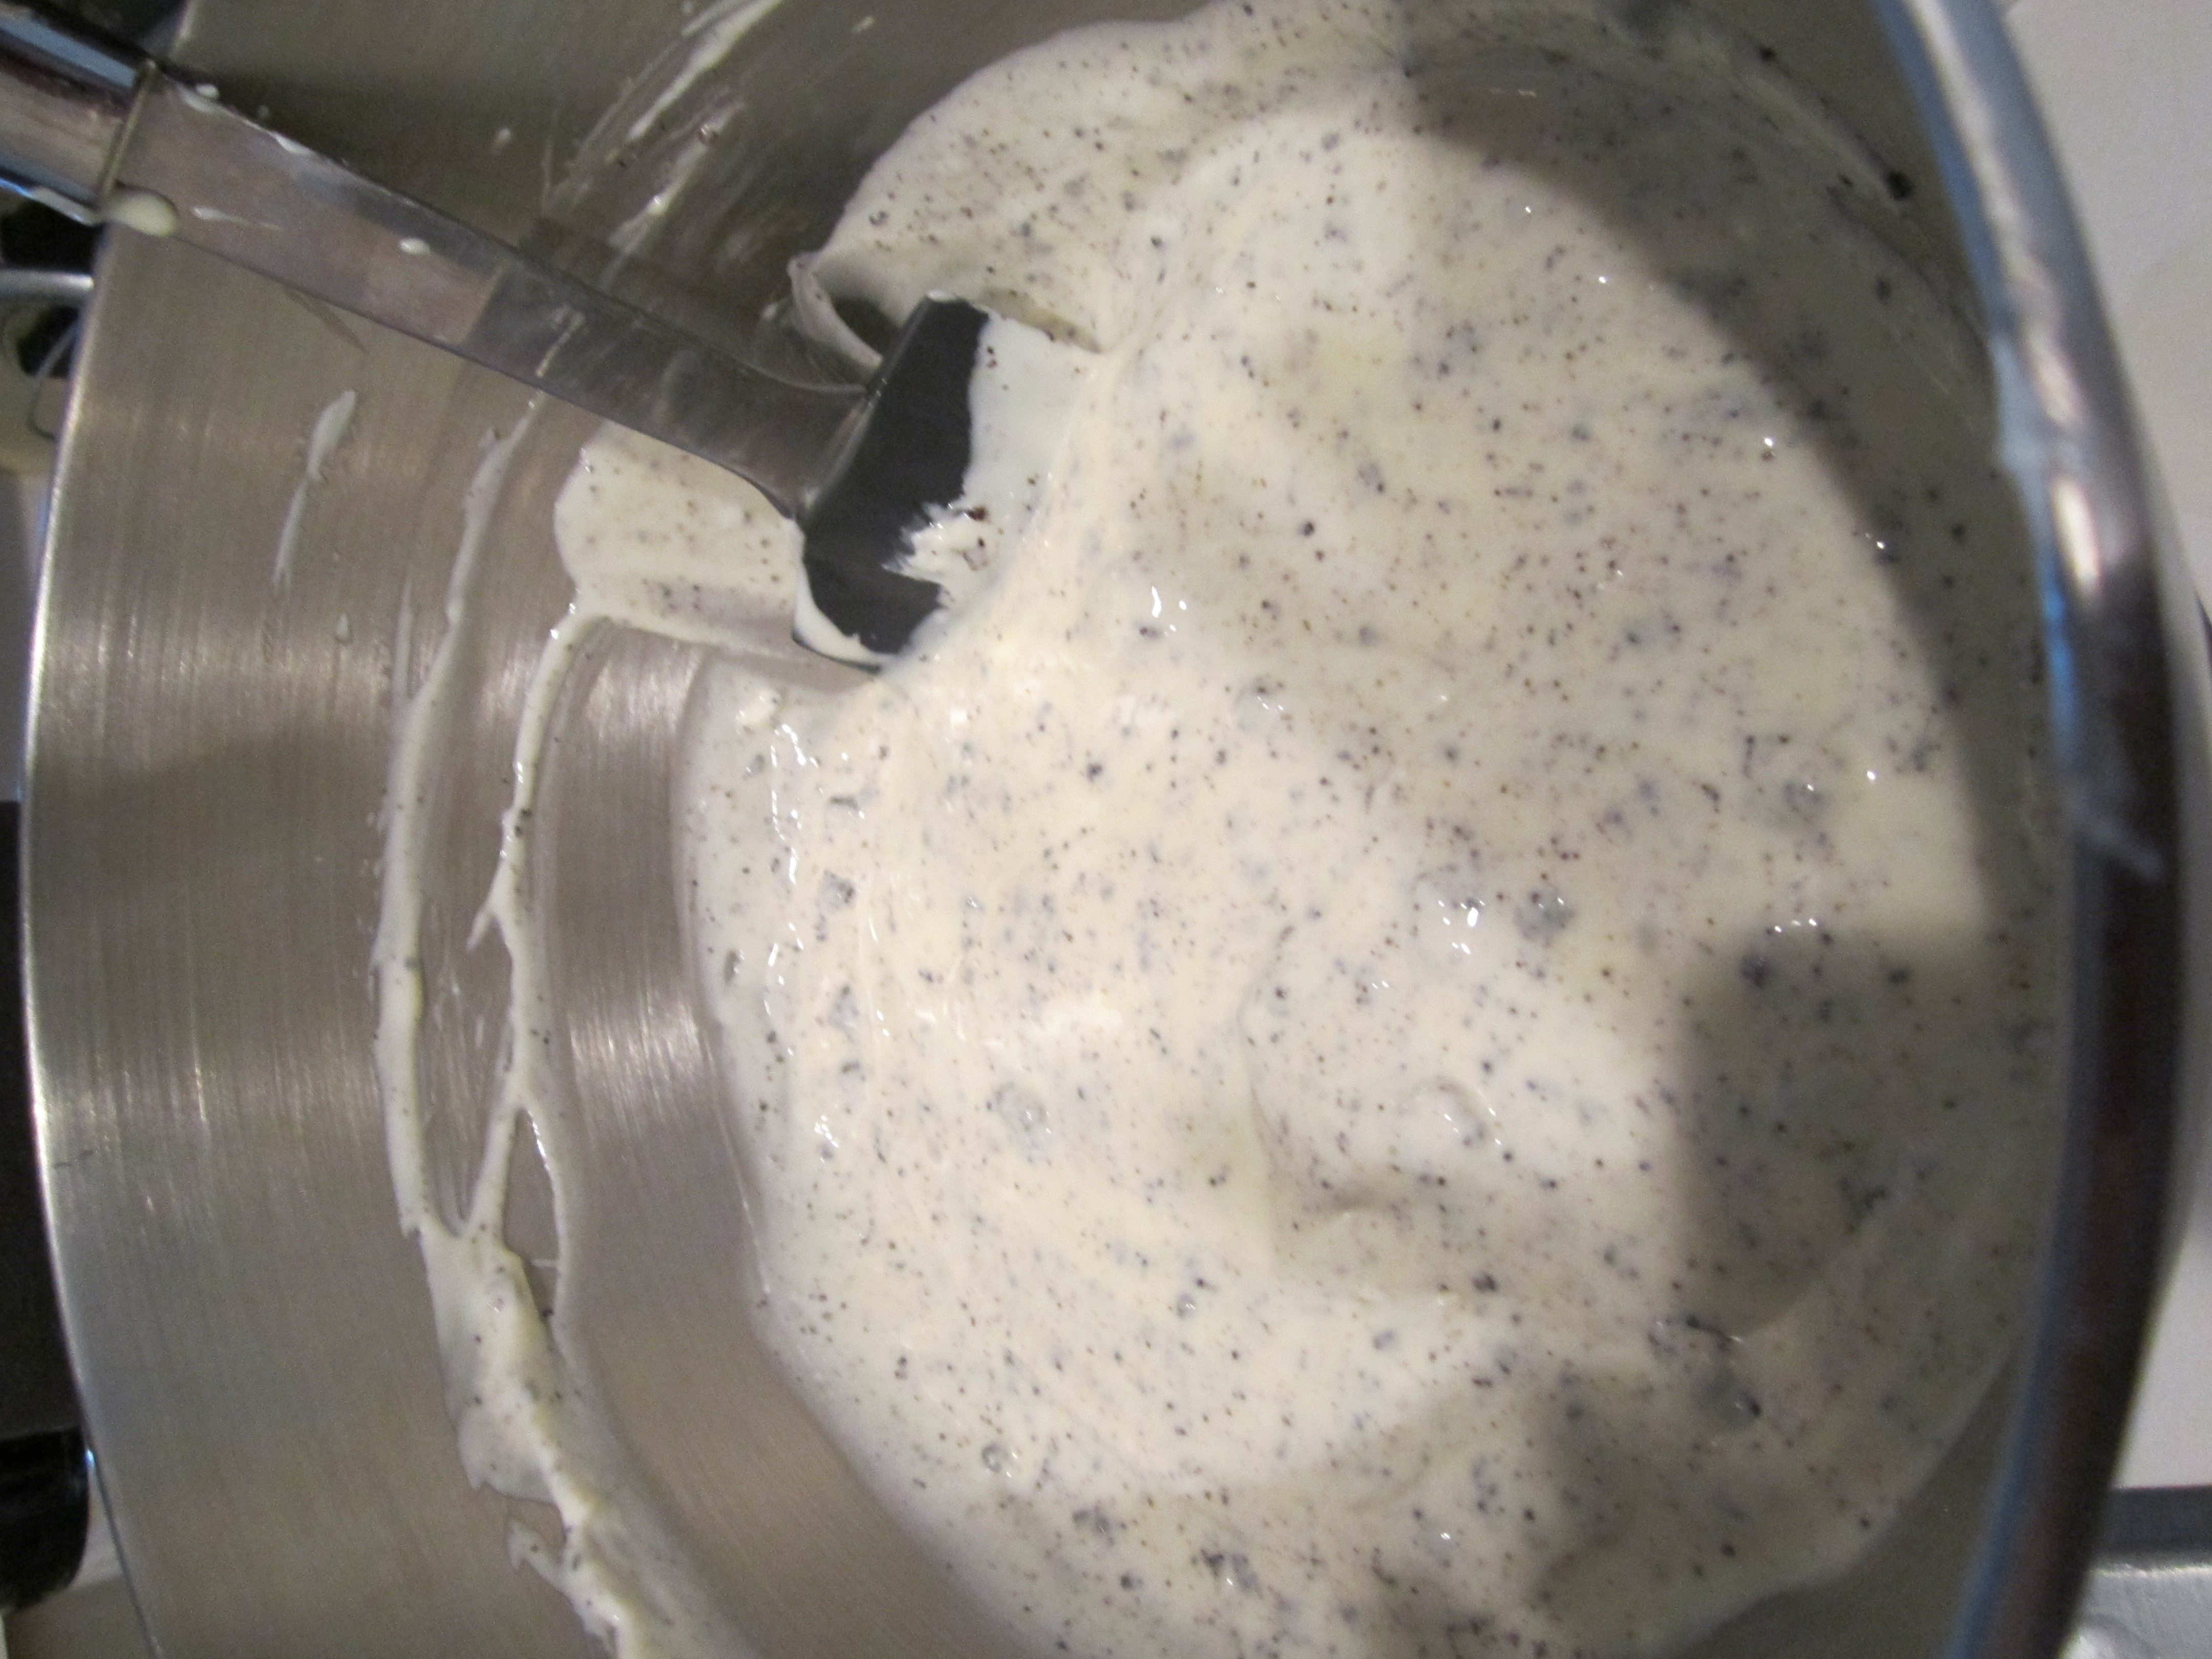
Add chicken stock a half cup at a time to roux and stir continuously until roux is incorporated into stock. Continue cooking and stirring over medium heat until slightly thickened and bubbling. Add sour cream and incorporate.
5. Add all the important stuff. 
Add shredded chicken, 1 cup of rice, and sauteed vegetable mixture in to broth. Simmer until desired thickness, 20-30 minutes.  Season with salt and pepper to desired taste.

Beefy Tortellini

This is another quick and easy crockpot recipe that I discovered from food.com.  I made a few changes to the recipe. I like this recipe because there’s so much room for creativity,  you can really tailor it to what you and your family like in your pasta.  I also love this recipe because, well I get home from a long day and already have a meal 99% made.
Enjoy!
Ingredients: 
  • 1 lb ground beef (can also substitute this for ground turkey, ground sausage)
  • 1/2 onion, chopped
  • 2 tablespoons minced garlic
  • 1 tablespoon olive oil
  • 1 can of diced tomatoes, undrained
  • 3/4 jar of your favorite pasta sauce
  • 1/2 cup sliced black olives (optional)
  • 1/2 cup diced mushrooms (optional)
  • 1/4 cup of water
  • 1 teaspoon italian seasoning
  • 1/4 teaspoon black pepper and salt
  • 1 package of tortellini
Instructions: 
1. In skillet heat olive oil, add garlic and onion.  Once golden yellow, add ground beef and cook.
2.  Transfer drained and cooked ground beef to crackpot. Add ALL other ingredients, except for tortellini. Cook on low for 6-8 hours.
3.  Add tortellini, stir to combine.  Cover crockpot on low for 15-20 minutes, until tortellini is tender.  Sprinkle with parmasean cheese if desired.